
RSA-2 plastic road stud with shank
No images match this selection.
Physical product
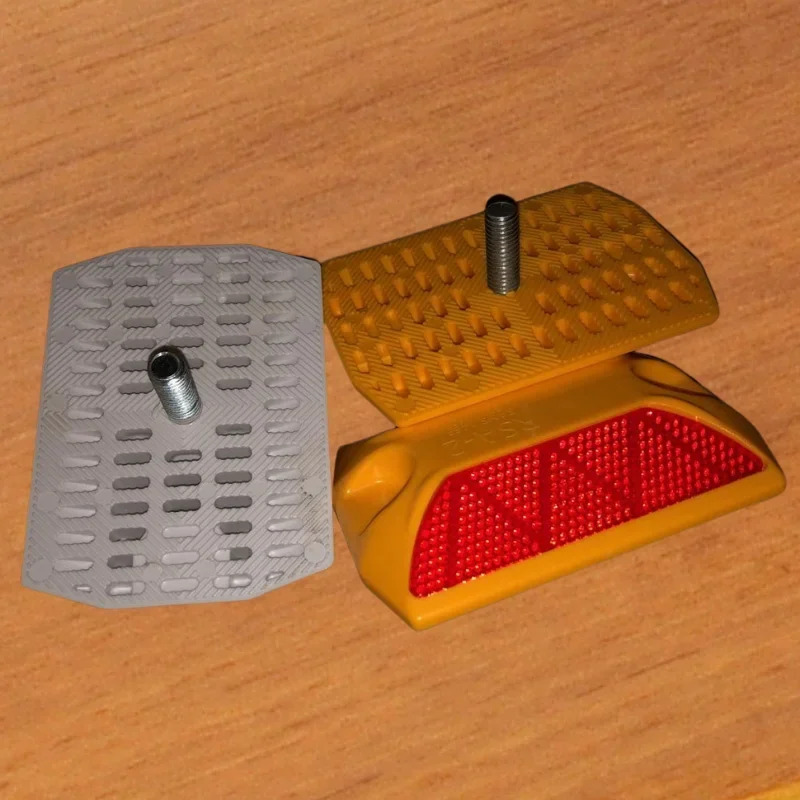
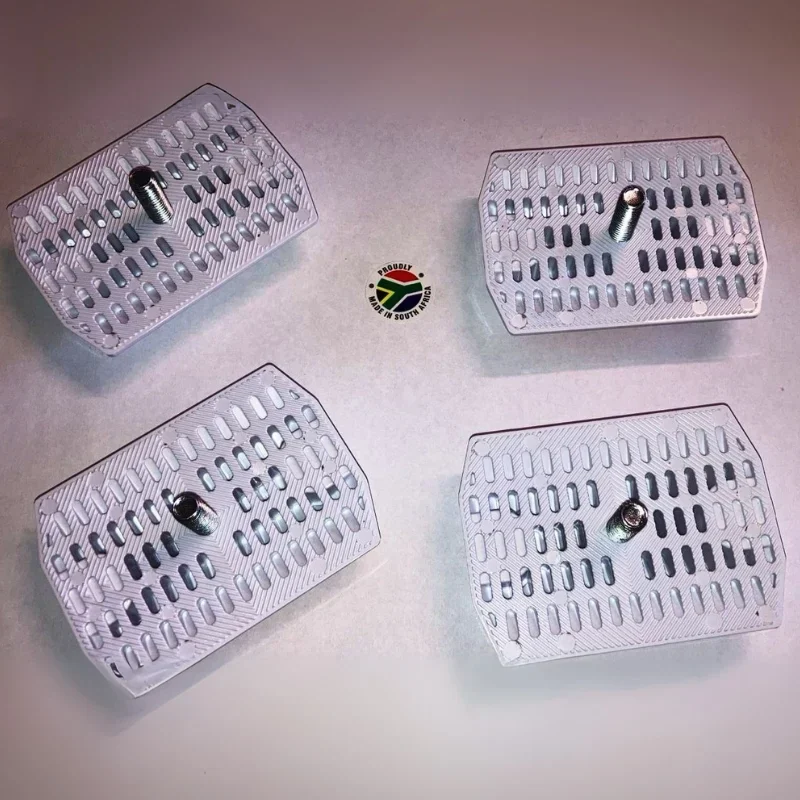
South African-made plastic road stud with a short 25 mm shank.
Manufacturer: K-Lite South Africa
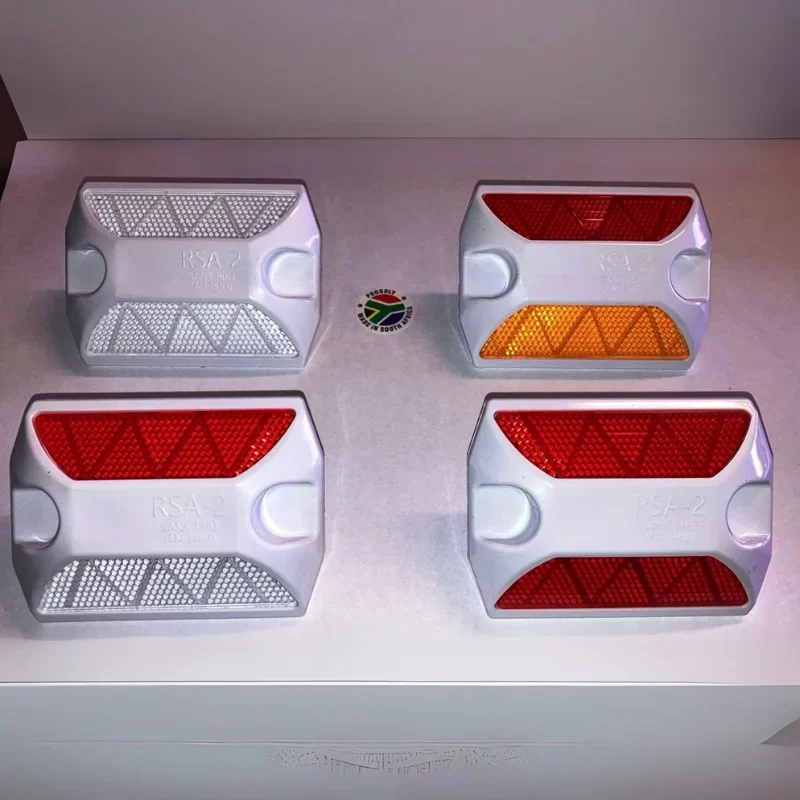
Manufactured in South Africa, the RSA-2 shanked plastic road stud has a short 25 mm shank. The standard range uses a white body, with selected coloured bodies available by special order.
Installation requirements
The shank is 25 mm long and 10 mm in diameter. Use the specified epoxy. Minimum installation hole: 12 mm diameter × 30 mm depth. These drilling instructions apply only to the RSA-2 with shank.
Road Stud Installation and Site Preparation
1. Ensure a safe work environment: Implement traffic control measures to keep vehicles away from the work crew and ensure the safety of all personnel on site.
2. Mark the installation positions: Identify and mark the positions according to road authority standards. Improper placement can confuse drivers and cause accidents.
3. Drill the holes: Drill into the asphalt at the marked positions to a minimum dimension of 12 mm diameter × 30 mm depth. This hole size applies to the RSA-2 with shank only.
4. Clean and dry the holes: Ensure each hole is free of debris and moisture. Any obstruction will hamper the installation, and surface oils or chemicals will prevent the epoxy resin from adhering properly.
5. Mix and apply the epoxy: Open both containers in the kit. Add the contents of the smaller container into the larger tub and mix thoroughly. Pour a sufficient amount of the mixed epoxy onto the hole, then push the stud shank firmly through the glue. Ensure enough epoxy displaces upward to completely coat the underside of the stud and secure the shank. Always wear protective gloves when handling epoxy resin.
6. Align the stud: Align the road stud precisely so the reflective lenses directly face oncoming traffic. Misalignment creates a serious hazard, as drivers will not be able to clearly see the reflective lens, which can lead to accidents.
7. Clean excess adhesive: Scrape away any overflow epoxy and return it to the mixing tub for later use. Take extreme care not to allow excess adhesive to carry over onto the reflective lenses, as this will compromise their visibility.
8. Inspect the installation: Perform a final quality check on the installed studs to ensure professional workmanship.
9. Protect the site: Keep traffic away from the newly installed studs until the epoxy is fully dry. Curing typically takes approximately one hour, depending on the ambient temperature and the type of epoxy used.
10. Always remember: Work safe, Work accurate, Work efficiently.
- Pricing
- Excluding VAT
- Box weight
- 13.2 kg
- Box quantity
- 100 studs
- Product code
- RSA-2 S25
- Pallet quantity
- 4,000 studs
- Special-order combinations
- Yellow / red with yellow body; red / red with red body
- Box dimensions (L × W × H)
- 56 × 28 × 23 cm
- White-body reflector combinations
- Yellow / red; red / red; red / white; white / white; yellow / yellow; green / green; blue / blue
Related products
Road Studs (Cat's eyes)
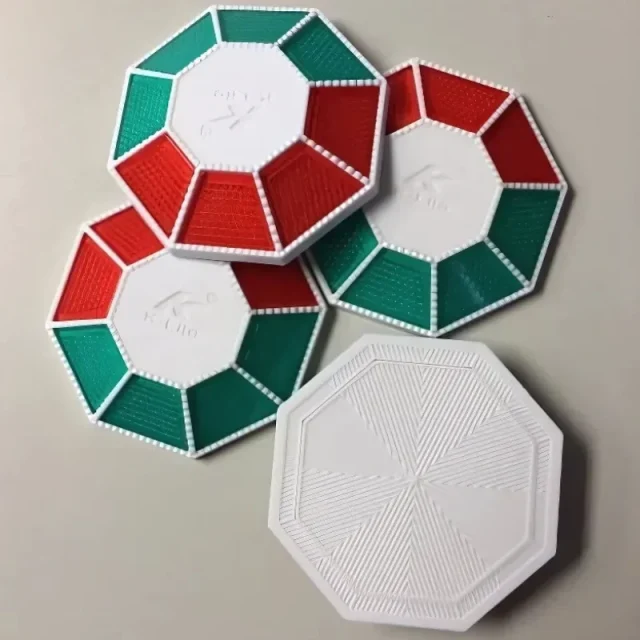
K-Lite 360° road stud - red / green
Plastic road stud with a 360-degree configuration and red/green reflectors.
View product
Road Studs (Cat's eyes)
Polycarbonate solar road stud
Battery-powered flashing solar road stud with a polycarbonate body.
View product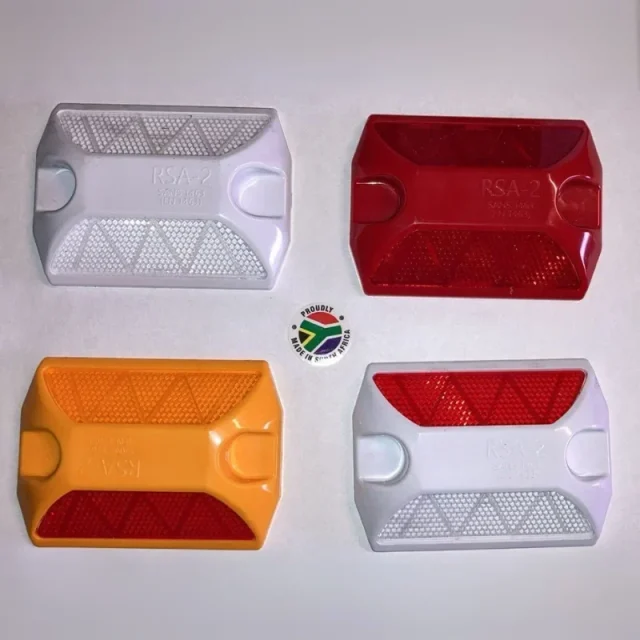
Road Studs (Cat's eyes)
RSA-2 plastic stick-on road stud
South African-made plastic road stud without a shank, available in a range of reflector and body colours.
View product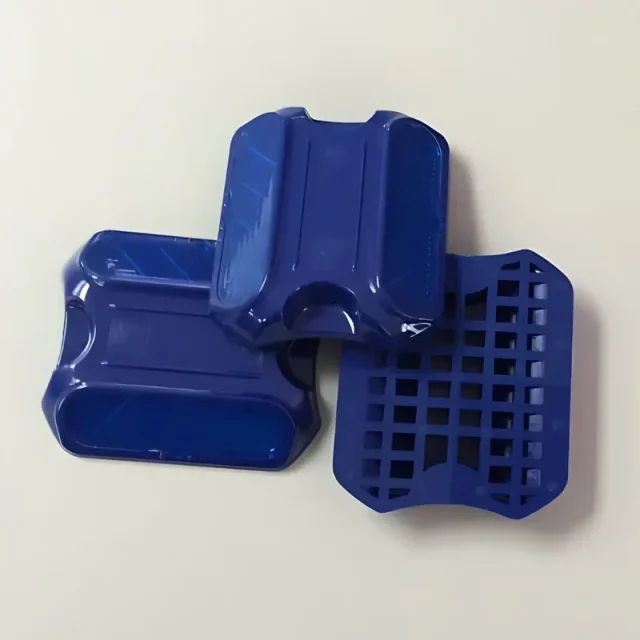
Road Studs (Cat's eyes)
KT-215 plastic road stud - blue
Blue plastic road stud for permanent road marking applications.
View product